One summer in high school I promised myself that I would wear flowers in my hair every day. I think my efforts only lasted for a few weeks, but I remember being happy picking fresh flowers from my mom’s garden to braid and pin into different looks. A more refined version of my wildflower dreams is this pretty perfect DIY Flower Crown. It so easy to make, and with just four steps, there is no excuse to not try it!
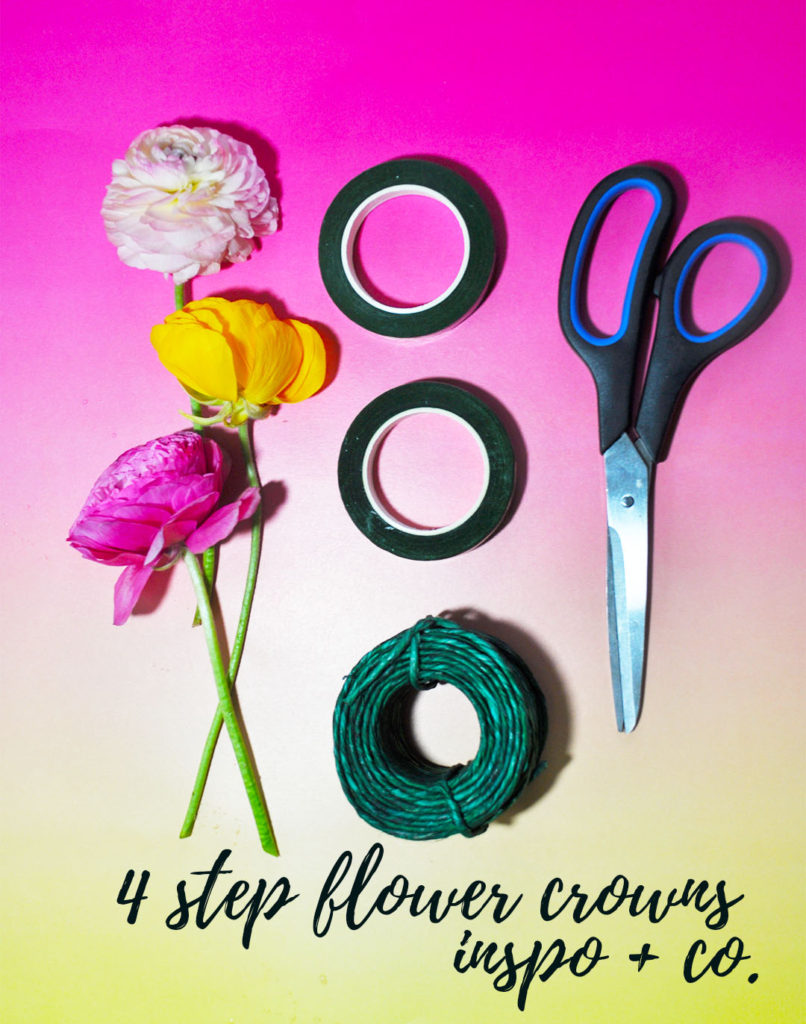
Supplies Needed to make a DIY Flower Crown:
- Flowers (I got mine from the Dane County Farmer’s Market)
- Floral tape
- Wrapped floral wire
- Wire cutters
Other then the flowers, you can find all your supplies at Michaels Craft Store.
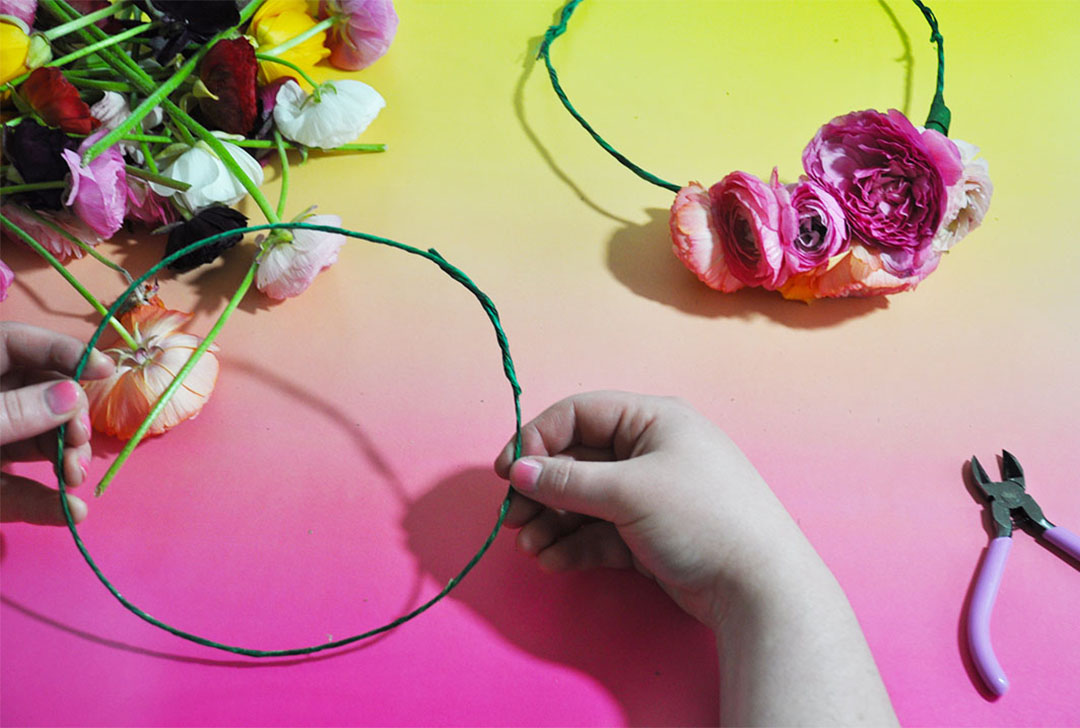
Step 1: Cut a piece of the wire long enough to fit around your head with a little extra left over and twist the extra together to make a nice circle.
Step 2: Choose the first flower you want to add to your crown and cut the stem to about three inches, then lay the stem onto the wire.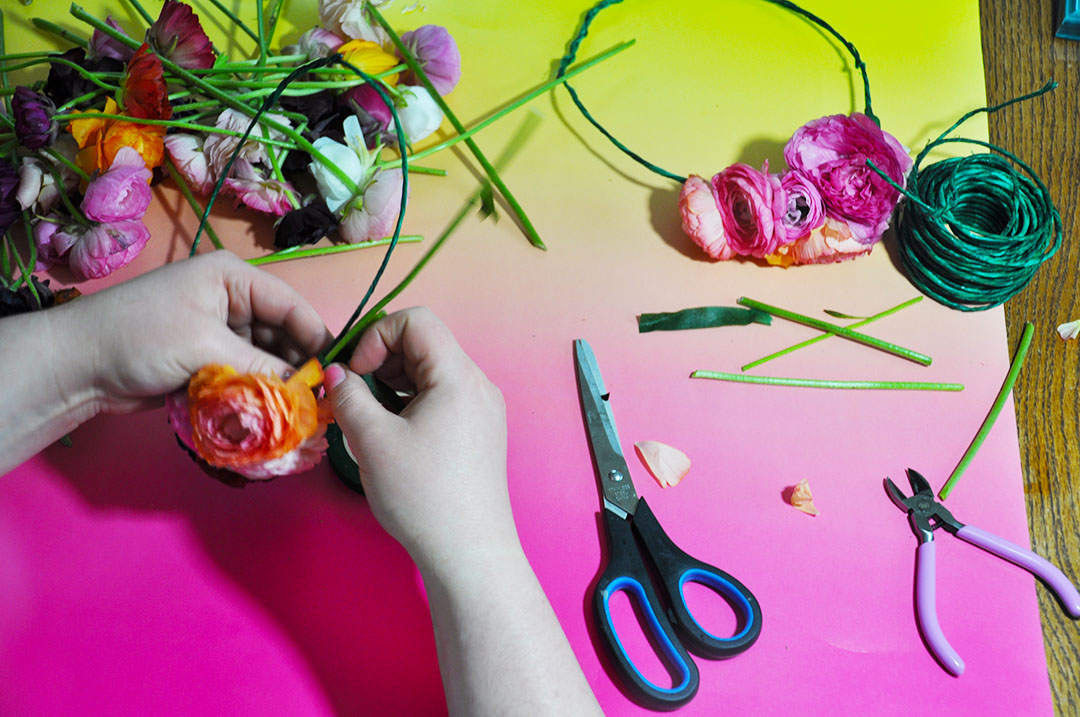
Step 3: Cut a piece of floral tape about seven inches long and begin wrapping it around the stem of the flower right under the head of the bud securing the flower to the wire. Make sure each time the tape is wrapped around it overlaps some of the wrapped tape before it.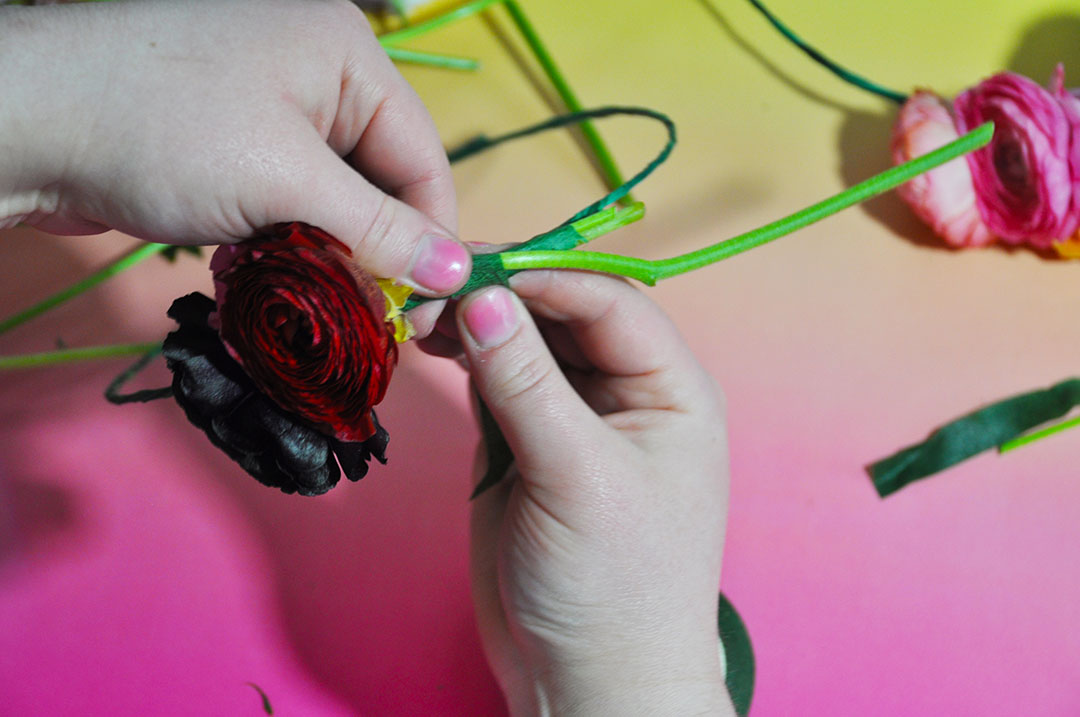
Step 4: Keep placing flowers on the wire, one right after the other and wrapping the steams tightly with a new piece of floral tape until the crown is complete. Wrap the final piece of tape around the wire a few times to secure the flowers. 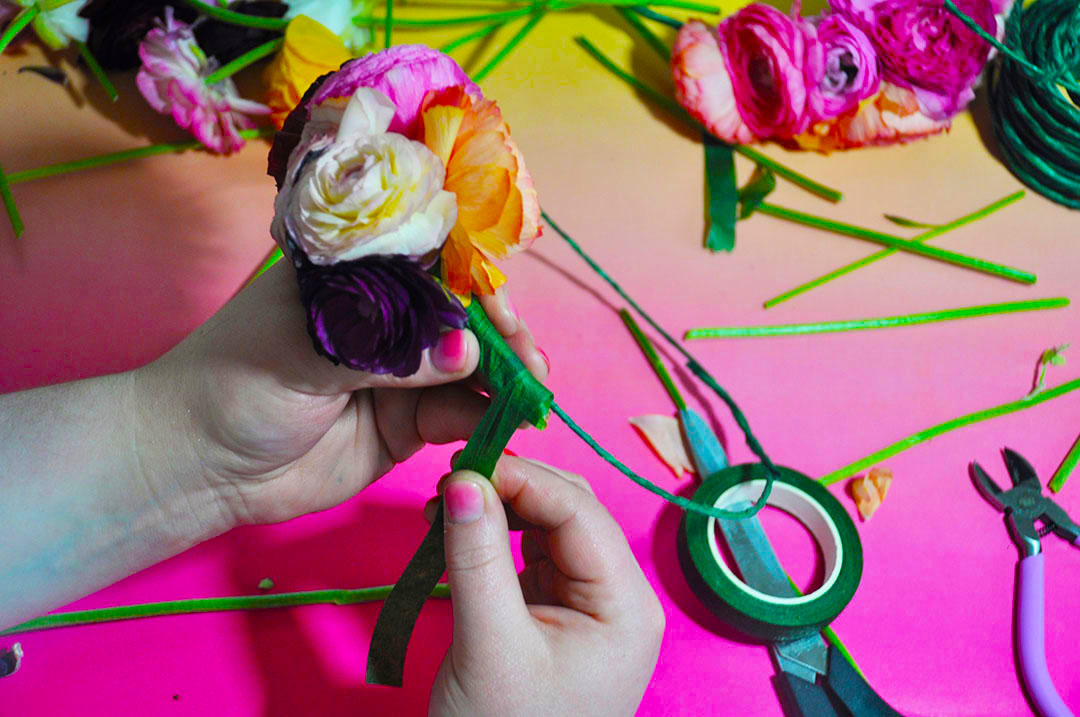
You can wrap flowers on one side of the wire to create a small cluster or wrap all the way around the wire to create a full crown.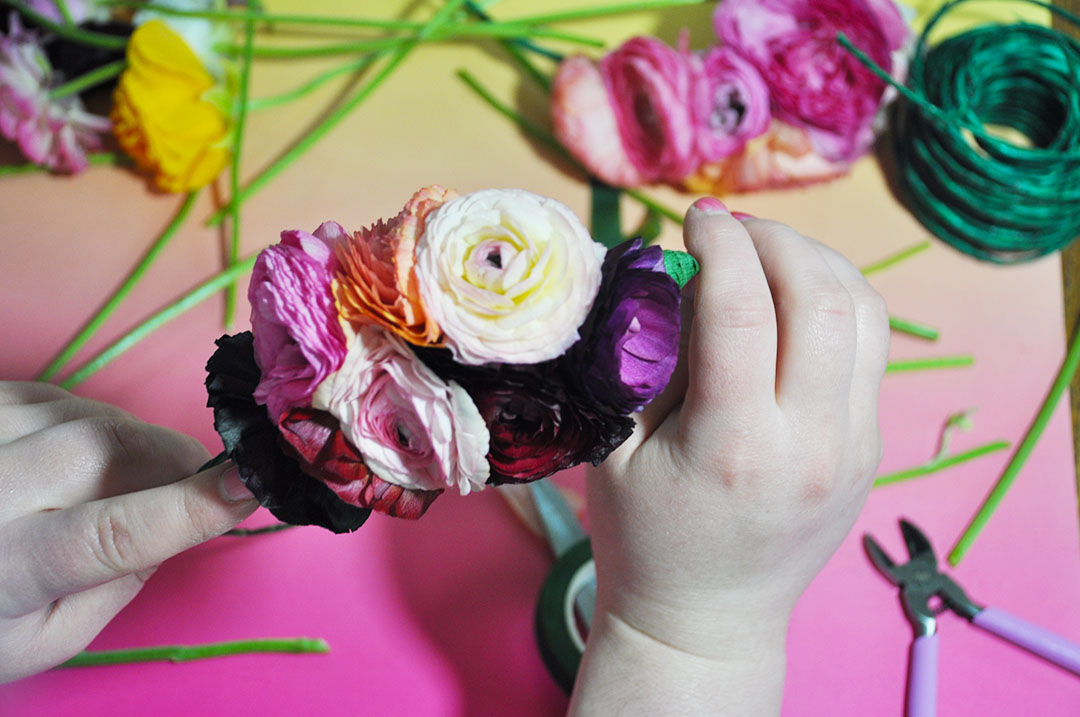
The DIY Flower Crowns are a perfect craft to make all summer long!